
How to Use MiniMax H3 Image to Video
Attach one image and MiniMax H3 animates it as the literal first frame. How to prepare the still, what to write, and the mistakes that waste a render.
MiniMax H3 switches to image to video when you attach exactly one reference image. Your still becomes the literal first frame and the clip animates forward from it, so real product photography stays accurate. The output aspect ratio follows your image, which is the detail that catches most people out.
Step 1: Prepare the still before you upload
The image decides more about the result than the prompt does, so it is worth two minutes.
Crop to your placement first. The output follows the image's aspect ratio, so a square photo produces a square clip no matter what the aspect picker says. If you want a vertical ad, crop to nine by sixteen before uploading.
Leave room for movement. A subject filling the entire frame gives the camera nowhere to go. Some empty space around the subject lets a push in or a pull back actually read.
Use a clean, well lit source. Soft directional light with the subject clearly separated from the background animates well. A dim, cluttered phone snap gives the model very little to work with and the result usually looks muddy.
Avoid images with text in them. Lettering that exists in your still will often degrade as the clip moves, because the model is regenerating those pixels frame by frame. Keep logos and copy for the editor.
Step 2: Attach the image and confirm the mode
In the editor, select MiniMax H3, then attach exactly one image. In the model picker it is listed as MiniMax H3 Max.
One image is the trigger for image to video. If you attach a second, you move into reference to video, which is a different behaviour entirely: the model composes a new shot rather than animating your frame. That mode is covered in how to use reference images.
This is worth checking before you generate, because the two modes produce very different results from the same prompt and the difference is easy to miss.
Step 3: Write what happens next, not what is there
The most common prompt mistake in this mode is describing the image you just attached.
The model can already see the still. Re describing it competes with the image and wastes the instruction. What it needs from you is what changes over the next few seconds.
Weak, because it describes the frame:
A matte black wireless charger on a dark wooden desk, shot from a low angle with soft light.
Strong, because it describes the movement:
The camera pushes in slowly from a low angle as soft key light rises from the left, catching the edge of the product. Shallow depth of field, rich blacks. Quiet room tone, one soft click, no music.
The same applies to people. If your still shows someone holding a bottle, do not re describe them. Write what they do:
She lifts the bottle slightly toward the camera and says, "Three weeks. That is all it took." Small natural movement, static framing, room tone only, no music.
Step 4: Keep the motion simple and generate
One movement, as always. A slow push in is the most reliable choice and the right default when you are unsure. A slow pull back works for reveals. An orbit works around objects and gets risky around people.
Set five seconds and 480p while you are deciding whether the motion works, then rerun the survivor at 768p. Because the first frame is fixed by your image, this mode is unusually consistent between runs, which makes low resolution drafting even more efficient here than elsewhere.
What to avoid asking for: the subject turning to reveal a different side, an object being picked up by a hand that is not already in frame, or any change that requires inventing something the still does not contain. Image to video animates what is there. It does not add cast members.
What is this mode actually good for?
Product photography in motion. The main use. Your real packaging, your real label, your real colour, moving. Nothing is invented, which is exactly what you want when a customer will compare the ad to the product page. The technique across models is in turning product photos into video ads.
Making a generated still into a clip. Generating an image first, choosing the frame you like, then animating it is often better than generating clips directly. Deciding on a still is cheaper than regenerating whole videos, and you get much tighter control over composition.
Extending a scene you already shot. A frame grab from real footage can be animated to produce an extra beat that matches your existing material.
Consistency across a batch. Using the same still as the starting point for several clips gives you a set that visually belongs together, which matters when you are producing variants for one campaign.
How do you build a whole ad from one photo?
A single good product still goes further than people expect, because you can animate it several different ways and cut the results together.
From one pack shot you can generate a slow push in for the opening reveal, a slow pull back that lands on the product in context, and a low angle rise that makes it feel substantial. Three clips, one source image, three different beats. Cut together with a hook shot in front of them and you have a complete ad.
The advantage over generating one longer clip is that you can replace any single beat without touching the others. If the reveal is right but the closing shot is soft, you rerun five seconds rather than fifteen.
A sequence worth copying:
The camera pushes in slowly from a low angle as soft key light rises from the left. Shallow depth of field, rich blacks. Quiet room tone, no music.
The camera pulls back steadily, revealing the surface around the product and the room beyond it. Soft daylight, clean natural colour. Quiet room tone, no music.
The camera tilts up slowly from the base of the product to its top, holding at the end. Soft directional light from the left, shallow depth of field. Quiet room tone, no music.
Product beat prompts for the rest of the ad are collected in MiniMax H3 product ad prompts, and Meta's advertising guidance publishes current placement specs worth checking before you render.
What are the limits?
The first frame is fixed, so anything wrong in your still stays wrong. Bad lighting does not get fixed by the model, it gets animated.
The aspect ratio is decided by the image, so you cannot generate the same still into two placements without cropping and rerunning.
And the model animates rather than reimagines, so large changes of subject or setting do not happen. If you want a different scene, you want text to video.
Frequently Asked Questions
How do I switch MiniMax H3 into image to video?
Attach exactly one reference image. No images gives you text to video, one gives you image to video, and two to four moves to reference to video.
Does my image become the actual first frame?
Yes. The clip starts on your image and animates forward from it, which is why the product in the still stays accurate to your real product.
Why can I not choose the aspect ratio in this mode?
The output follows the aspect ratio of the image you attach, so the picker does not apply. Crop the still to your placement before uploading.
What should the prompt describe in image to video?
What happens next, not what is already visible. Re describing the composition in your still competes with the image rather than adding to it.
What kind of image works best?
A clean, well lit still with the subject clearly separated from the background and some empty space for movement. Cluttered images give the model less room.
Can I use a generated image as the starting frame?
Yes. Generating a still first and then animating it is a good workflow, because deciding on a frame is cheaper than regenerating whole clips.
Try it on your best product photo
Take the cleanest product shot you have, crop it vertical, and animate it with a slow push in. That is one render and it will tell you immediately whether this mode belongs in your workflow. Product beat prompts are collected in MiniMax H3 product ad prompts, and Shopify's blog has useful background on what product content needs to achieve.
Frequently Asked Questions
Share
AI Summary
Paul Grisel
Paul Grisel is the founder of VIDEOAI.ME, dedicated to empowering creators and entrepreneurs with innovative AI-powered video solutions.
@grsl_frReady to Create Professional AI Videos?
Join thousands of entrepreneurs and creators who use VIDEO AI ME to produce stunning videos in minutes, not hours.
- Create professional videos in under 5 minutes
- No video skills experience required, No camera needed
- Hyper-realistic actors that look and sound like real people
Get your first video in minutes
Related Articles
FLUX 3 Max Audio: Sound and Dialogue Prompt Guide
FLUX 3 Max generates sound on every clip. How to write dialogue it will speak, direct ambience and effects, decide on music, and replace the track when you need to.
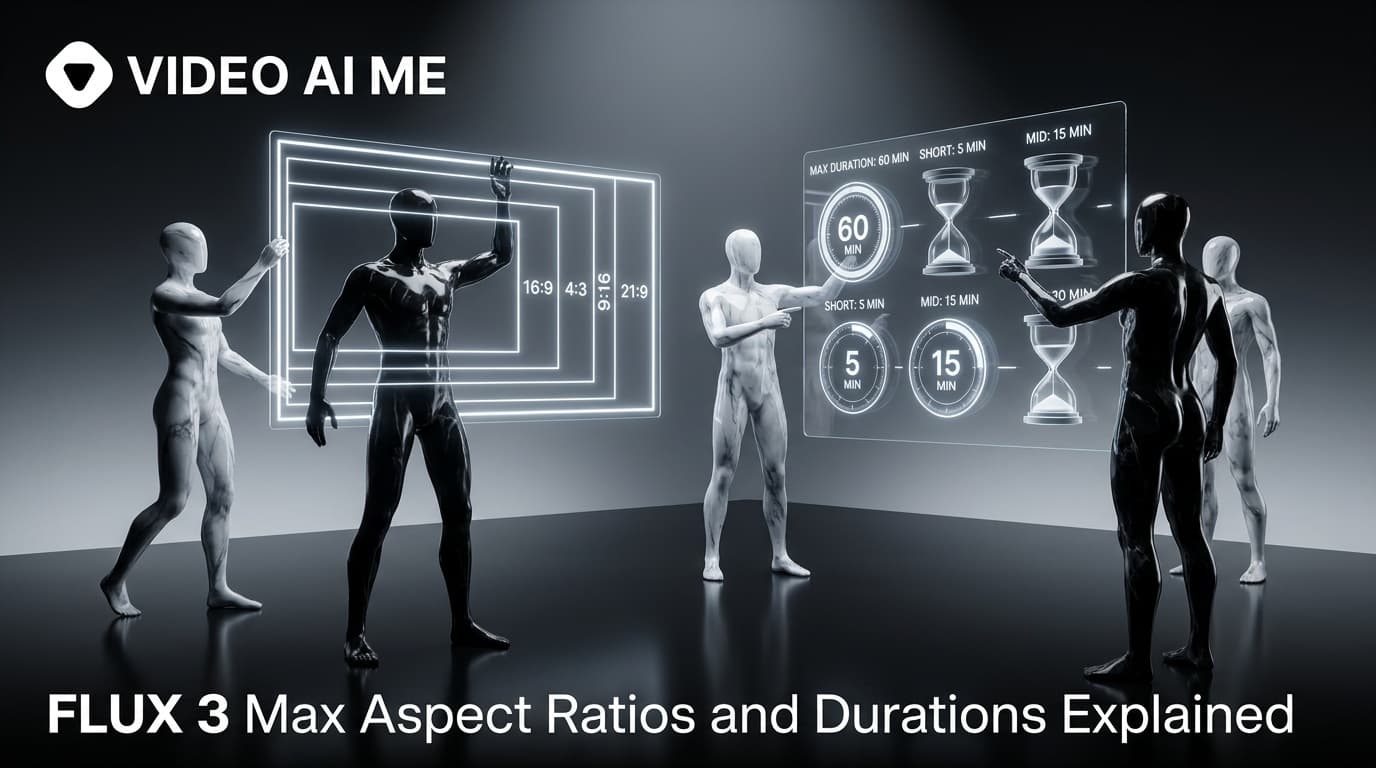
FLUX 3 Max Aspect Ratios and Durations Explained
Every FLUX 3 Max aspect ratio and clip length on VIDEO AI ME, how auto behaves in each mode, which placement wants which shape, and what each duration costs.
FLUX 3 Max 1080p vs 720p: When 1080p Is Worth It
FLUX 3 Max costs 17 credits per second at 720p and 29 at 1080p. When the higher tier earns its rate, when 720p is enough, and how to test cheap and deliver sharp.