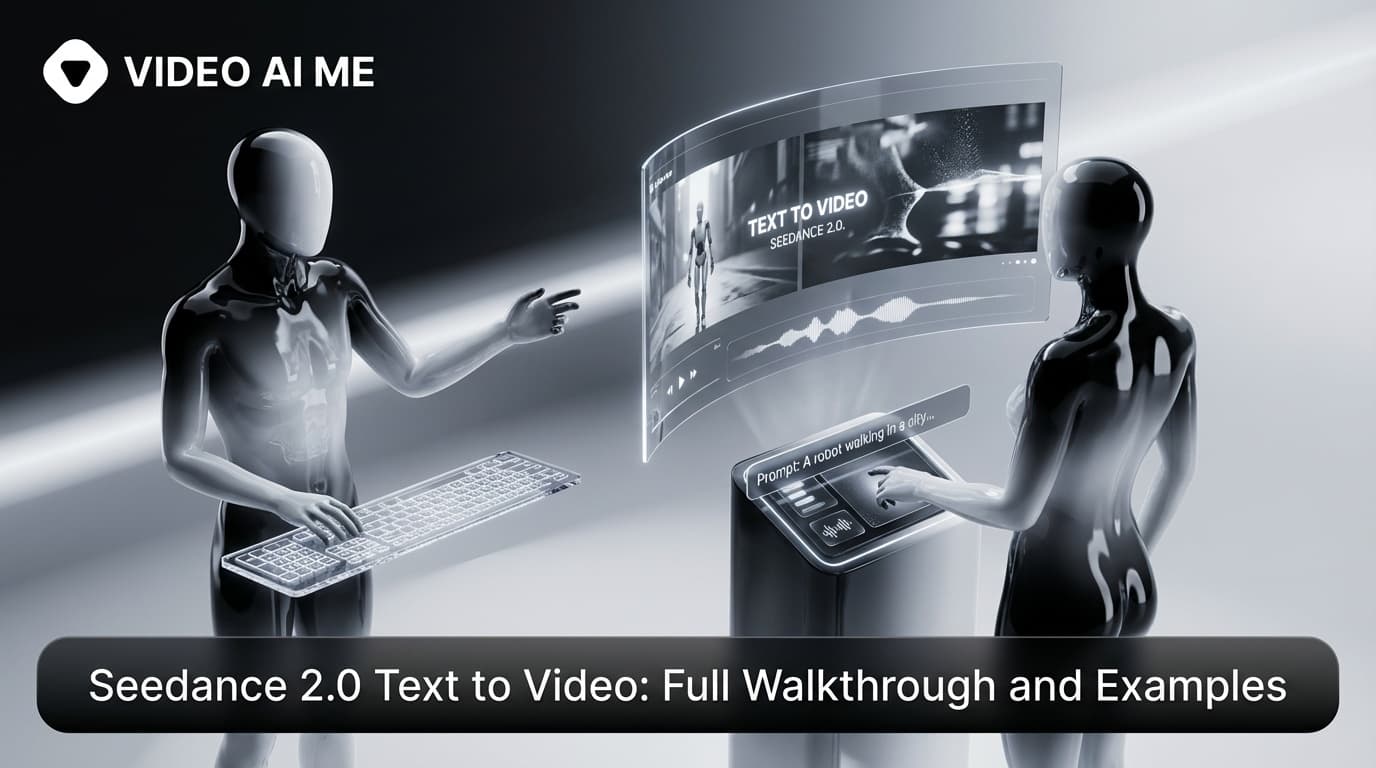
Seedance 2.0 Text to Video: Full Walkthrough and Examples
Seedance 2.0 text to video walkthrough with real prompt examples. Learn the prompt anatomy and ship your first clip in under ten minutes.
The mode that does the most work
Seedance 2.0 text to video is the front door of the model. You type a paragraph and get a clip back. No reference image, no upload, no setup. Just words in, video out. It is the mode that handles the largest share of real production work, and it is the one to learn first.
The gap between a text to video prompt that produces something usable and one that produces something forgettable is not in talent. It is in structure. A well structured prompt of sixty words can outperform a four hundred word ramble every single time. Once you understand the structure, text to video stops feeling like a slot machine and starts feeling like a writing exercise.
This post is a full walkthrough. We will cover what text to video actually is on Seedance 2.0, how the prompt anatomy works, what good and bad prompts look like, and how to ship your first clip in under ten minutes. By the end you will be writing prompts that work on the first try.
What text to video means on Seedance 2.0
Seedance 2.0 text to video takes a single paragraph prompt and returns a 2 to 12 second clip with motion, native dialogue, ambient audio, and optional multi-shot cuts, in 480p or 720p. No reference image is required. The model generates everything from your words, which means the structure of your prompt decides almost everything about the output.
Text to video means you write a paragraph and the model returns a complete video clip. That clip can be anywhere from two to twelve seconds long. It can be vertical, horizontal, or square. It can include dialogue, multi-shot cuts, and ambient audio. The only input is your writing.
This is different from image to video, where you upload a still image as the first frame and your text drives the motion. With text to video, the model generates everything from scratch based on the words you write. That gives you maximum creative freedom, but it also means the prompt has to do all the work. There is nothing else to lean on.
The practical implication is that text to video is the right mode for any scene where you do not need pixel exact brand assets. UGC ads, hooks, b roll, cinematic shots, multi character interviews. All text to video. If you need a specific product to look exactly like the real product, switch to image to video for that one shot.
Text to video is also the mode where you get the most creative freedom. You can describe a scene that does not exist in the real world. You can pull characters from your imagination. You can build sets that would cost a fortune to film. The trade off is that you give up pixel control, and that trade is the right one for most ad work and most social content.
The prompt anatomy that lands every time
- Style and aesthetic first. "UGC creator, iPhone handheld, golden hour." The style cue sets the tone for the whole clip. Do not skip this.
- Subject anchor. Who is in frame. Two or three details about wardrobe, age range, and posture is enough.
- Action in beats. What happens, broken into discrete moments. "Stops, lifts the box, points at the camera" beats "shows the product" every time.
- Camera and framing. Wide, medium, close-up, low angle, slow dolly, locked tripod. Pick one.
- Lighting and color anchors. Source, quality, three to five colors. "Warm sunset backlight, palette of cream, peach, denim blue."
- Dialogue if needed. Quoted lines for spoken audio with lip sync.
- Negative cue at the end. "- No music, No logo, no text on screen."
Memorize that order. Write in plain English. The result is a working prompt of about a hundred words.
This structure works because it matches how directors and DPs actually plan a shot. Style first, then subject, then action, then camera, then lighting. The model was trained on real footage that follows these conventions, so prompts that follow the same conventions are easier for the model to interpret. You are not fighting the model, you are speaking its language.
A good prompt versus a bad prompt
Bad prompt: "A woman in a kitchen drinking coffee, beautiful cinematic shot."
Good prompt: "UGC creator, woman in her thirties in a small apartment kitchen, pours coffee into a chipped white mug, lifts it to her mouth, takes a sip, looks at the camera, smiles. Filmed with iPhone, soft morning window light from the left, palette of cream, oak, navy. - No music, No logo, no text on screen."
The bad prompt has no anchors. The model has to guess everything: the aesthetic, the framing, the lighting, the action, the wardrobe. It will make average choices because it has nothing better to go on. The good prompt makes specific choices for the model. The result is a clip that lands on the first generation.
The difference is not length, it is specificity. The good prompt is only sixty words. It is not a long prompt. It is a clear prompt. Clear beats long every time. If you want to see the difference on your own eyes, try Seedance 2.0 free on VIDEO AI ME and run both prompts back to back.
A four step process to write a working prompt
- Pick the aesthetic in three words. UGC, cinematic, vlog, film noir, handheld iPhone, locked tripod. Whatever you commit to, write it first.
- Anchor the subject in one sentence. Wardrobe, age range, posture, location. Three or four specifics.
- Break the action into beats. Two or three discrete moments. Not a summary, not an arc, just what happens in order.
- Add the lighting recipe and the negative cue. Source, quality, three colors. Then the negative line.
Follow these four steps and your prompts will be reliable from the first try.
Real Seedance 2.0 prompt example
Here is a single shot text to video prompt that hits everything in the anatomy. Use it as a sanity check the first time you run text to video. It will land a usable clip on the first generation almost every time.
UGC creator, energetic Black man in his twenties standing in a concrete skatepark at golden hour, holding a brand new pair of white and neon green sneakers. He lifts them close to the camera lens, rotates them slowly saying: "Bro look at these. Feel that material." He drops them on the ground, slides his foot in, stomps twice, then jogs three steps and stops. He turns back to camera: "Insane comfort." Filmed with iPhone, warm sunset backlight, slight lens flare, handheld. - No music, No logo, no text on screen.
Notice how every part of the anatomy is present. Style first. Subject anchored in one sentence. Action in clean beats. Two short quoted lines. Lighting recipe. Negative cue. About 110 words. That is the size you should aim for on most prompts.
This is also a single character prompt, which is the right starting point for learning text to video. Master the single character format first, then add a second character, then add multi-shot. The skills compound.
When to use single shot versus multi-shot
Single shot prompts are right for hooks, single character ads, b roll, and product shots. They are fast to write and reliable to generate.
Multi-shot prompts are right for sequences, before and after, multi character interviews, and any clip that would have required a cut in a video editor. They are more complex to write but they collapse hours of editing into a single generation.
A good rule of thumb: if the action you want to show is one continuous moment, use a single shot prompt. If the action requires a cut, use multi-shot. We talk about this more on the VIDEO AI ME blog in our prompting series.
How long should clips be
Auto duration on Seedance 2.0 ranges from 2 to 12 seconds. The sweet spot for most ads is 6 to 8 seconds. Long enough to land a hook and a payoff, short enough that the model follows your instructions reliably.
For pure hooks, 4 seconds is often enough. For multi-shot stories, 10 to 12 seconds gives the model room to land each shot. Past 12, the model caps the clip regardless of what you ask for, so do not bother trying.
How to write prompts for different platforms
The platform decides the aspect ratio and the duration target, and those two decisions decide the rest of the prompt.
For TikTok and Reels, write in 9:16 with vertical framing language. Keep the action centered top to bottom, and aim for six to eight seconds. The hook should be in the first two seconds. If you want a quick test, open VIDEO AI ME and test a prompt at 9:16 with a four second hook and see how fast it lands.
For YouTube and landing pages, write in 16:9 with horizontal framing language. You can use wider scenes and slower action. Eight to twelve seconds works well here.
For feed posts and square ads, write in 1:1. Keep the subject centered. Six seconds is usually enough.
Match the prompt to the platform. Do not write a horizontal prompt and then crop it to vertical at the end. The framing language has to match the ratio.
Common mistakes in text to video prompts
- Writing one giant action sentence instead of beats. The model needs discrete moments.
- Skipping the lighting recipe. You get bland midday sun by default.
- Forgetting the negative cue. Watermarks and stock music sneak in.
- Stacking too many style words. "UGC iPhone cinematic glossy editorial" confuses the model. Pick one.
- Asking for impossible camera moves. "Drone shot zoom into pupil" is not a real shot. Plausibility helps.
- Treating each generation as final. Iteration is part of the workflow. Plan for two or three tries on complex prompts.
How to do this on VIDEO AI ME
On VIDEO AI ME you select Seedance 2.0 as the model, choose text to video mode, paste your prompt into the input field, pick the aspect ratio and resolution, and click generate. You see a cost preview before you commit. If you want a specific voice or actor on the clip, you can swap the dialogue track for one of our 300+ actors or your own voice clone. We support 70+ languages on voice clones, so a single text to video prompt can be voiced in multiple markets without rewriting the visual. See all video features for the full list.
Conclusion
Text to video is the mode where most of your work will happen. Learn the prompt anatomy, write in plain English, iterate one variable at a time, and you will be shipping clips that look like real shoots within a week. Start a free project on VIDEO AI ME, write your first text to video prompt using the four step process above, and you will see why this mode does the heavy lifting in every modern AI video workflow.
More Seedance 2.0 prompts to study
The four reference videos used throughout this guide (a multi shot street interview, a skatepark product UGC, an unboxing narrative with a timelapse, and a high energy gamer reaction) live as a full copyable library on Seedance 2.0 Prompt Templates: Copy Paste and Ship. Bookmark it and remix any of the four when you need a starting point.
Related Seedance 2.0 guides on VIDEO AI ME
If you want to go deeper, these guides pair well with this one:
- How to Use Seedance 2.0: Beginner to Advanced in One Guide
- Seedance 2.0 Image to Video: Turn Any Photo Into a Cinematic Clip
- Seedance 2.0 720p vs 480p: Which Resolution Should You Use
- Seedance 2.0: Complete Guide for AI Video Creators
You can also browse the full VIDEO AI ME blog for more AI video tutorials, or jump straight into the product and try Seedance 2.0 free on VIDEO AI ME with no credit card.
Frequently Asked Questions
Share
AI Summary

Paul Grisel
Paul Grisel is the founder of VIDEOAI.ME, dedicated to empowering creators and entrepreneurs with innovative AI-powered video solutions.
@grsl_frReady to Create Professional AI Videos?
Join thousands of entrepreneurs and creators who use VIDEO AI ME to produce stunning videos in minutes, not hours.
- Create professional videos in under 5 minutes
- No video skills experience required, No camera needed
- Hyper-realistic actors that look and sound like real people
Get your first video in minutes
Related Articles

Make AI Video Look Real: AI Ads That Don't Look AI (2026)
Want to make AI video look real? This 2026 how-to walks through the exact realism techniques, prompt cues, and editing passes that kill the AI tells in your video ads.

How to Make an Investor Pitch Video With AI (2026)
Learn how to make an investor pitch video with AI in 2026. A step-by-step VC-facing workflow to script, generate, and send a 90-second pitch that lands meetings.
How to Make a Cold DM Video With AI (2026 Guide)
Learn how to make a cold dm video with AI in 2026. A step-by-step workflow to produce personalized outreach videos at scale that get more replies.