
Seedance 2.5 Image to Video: Start and End Frames
Attach one image and Seedance 2.5 treats it as frame one of the clip. How to write motion prompts, add an optional end frame, and pick source stills that hold up under movement.
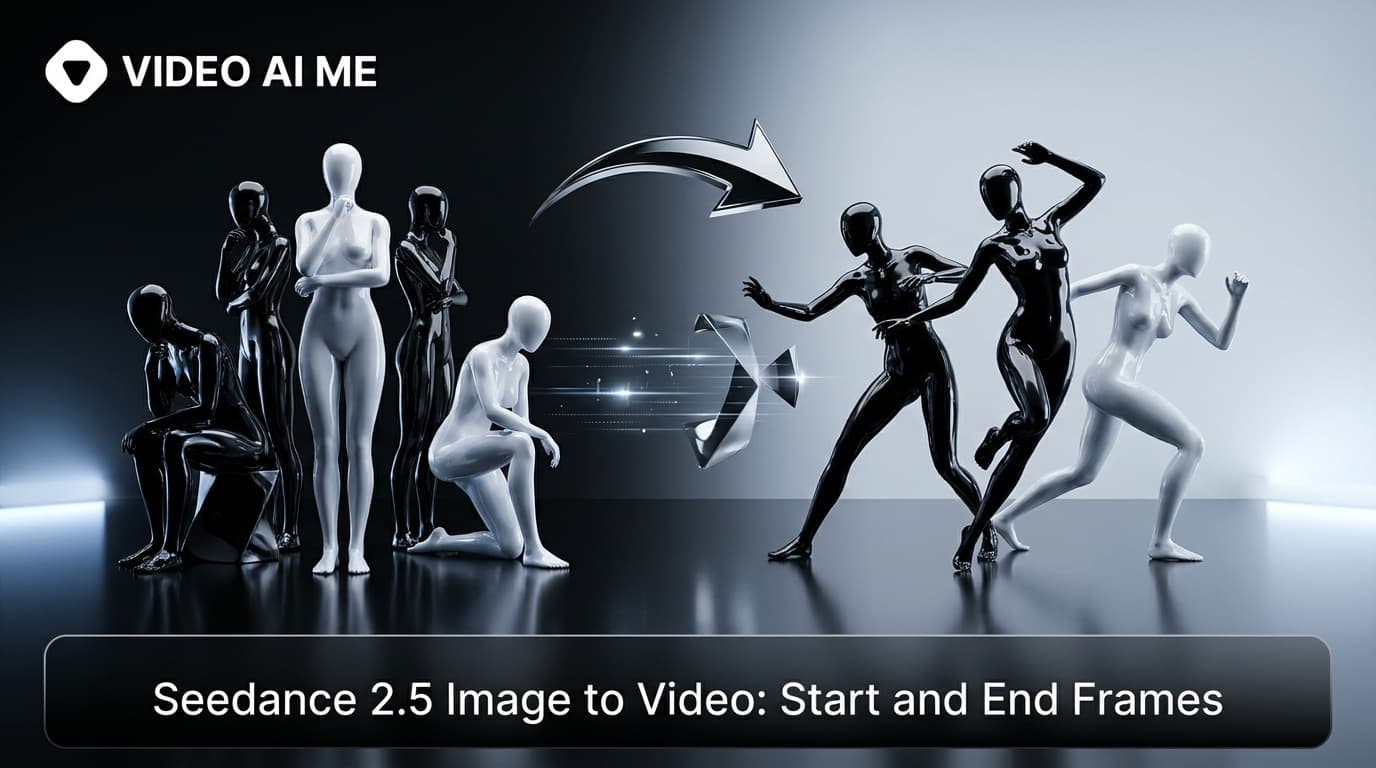
If you already own the picture, you should not be asking a model to invent it again. Seedance 2.5 image to video takes a single still, treats it as the literal first frame of the clip, and generates motion, camera and audio forward from it. That is the cheapest reliable way to turn a pack shot, a hero still or a generated frame you already like into something that moves. This walkthrough covers picking the still, writing a motion prompt, using an optional end frame so the clip travels between two images, and why the aspect ratio is decided by your file rather than by the picker.
What is Seedance 2.5 image to video?
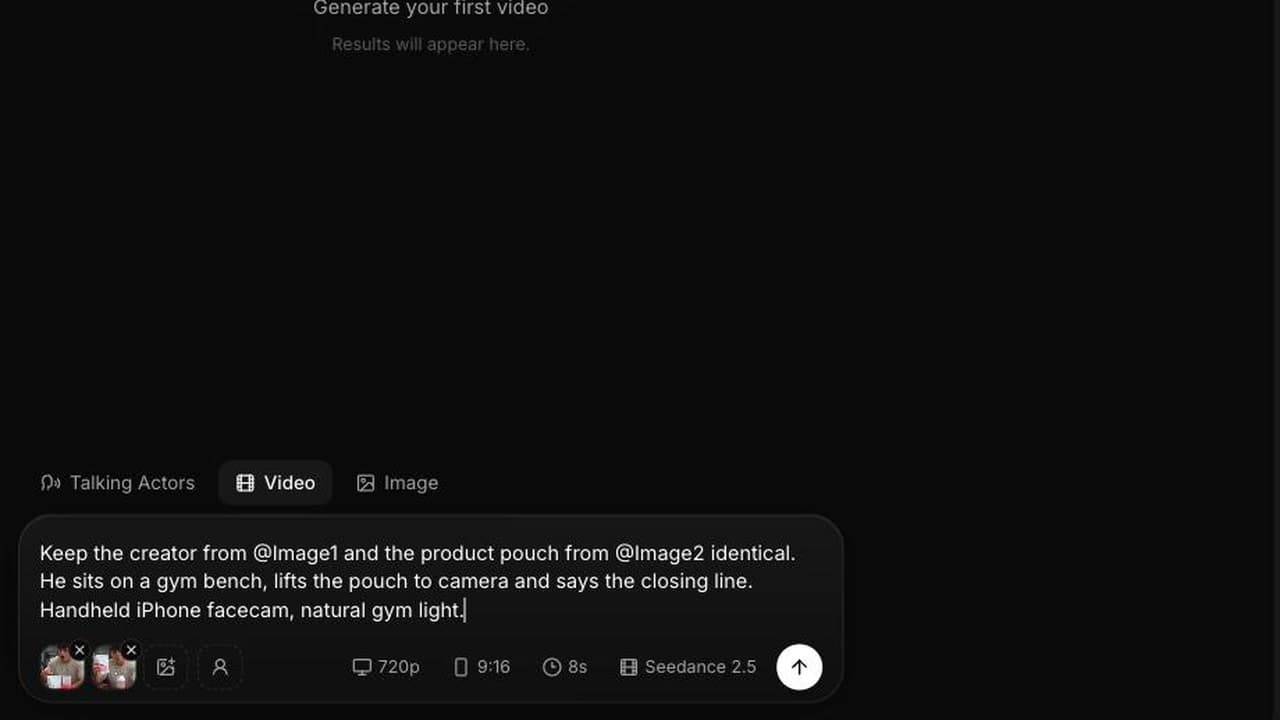
It is the mode that runs when exactly one image is attached to the prompt. There is no switch to flip. Zero images gives you text to video, one image gives you image to video, and two to four images gives you reference to video, where the images become identity sources addressed as @Image1 through @Image4 rather than frames.
The distinction matters more than it sounds. In image to video your still is frame one. Whatever is in it is in the video, pixel for pixel, at second zero. The model's job is not to reinterpret your image, it is to continue it. That is why this mode is the right one for anything where the exact look of the thing is already settled and non negotiable, which describes most product marketing.
Pricing is the same as the other modes: 23 credits per second at 480p, 48 credits per second at 720p, audio generated and included at both.
Step 1: Choose a still that already looks like frame one
Open your candidate image and ask one question: if this were paused on screen at the start of an ad, would it hold? If the answer is no, no prompt will rescue it.
Practical filters we use:
- Sharp and correctly exposed. Softness in the source becomes softness that moves, which reads worse than a still soft image.
- Composed with room. If the subject is cropped tight to every edge, a camera push has nowhere to go. Leave headroom and margin.
- One clear subject. Busy frames get muddy once things start moving.
- Nothing that should not move. Text baked into the image, watermarks, logos on a flat plane. These deform under motion more visibly than objects do.
Step 2: Attach exactly one image so the mode becomes image to video
In the editor at videoai.me, select Seedance 2.5 in the model picker and attach a single image to the prompt. One image is the whole trigger. If you attach a second one you have silently moved into reference to video, which behaves completely differently, so if your output suddenly stops matching your still, count your attachments first. The reference image walkthrough covers that other mode in full.
Step 3: Write a motion prompt instead of a scene description
This is the change that people find hardest coming from text to video. Your still already establishes the subject, the set, the wardrobe and the light. Re-describing them wastes words at best, and at worst hands the model a contradiction to resolve. Spend the entire prompt on what happens next: motion, camera, and sound.
Written for image to video, 4 seconds, 720p, from a sneaker pack shot on a plinth, at 192 credits:
The shoe stays exactly where it is. The camera arcs slowly ninety degrees to the left around it at shoe height, keeping it centred, while a soft highlight travels across the leather panel and the laces catch the light. Nothing else in the frame moves and nothing enters frame. Studio silence with one low sub tone rising through the move. No music, no voice.
Written for image to video, 8 seconds, 480p, from a photograph of a plated dish, at 184 credits:
Steam begins to rise from the plate in thin curls. A hand enters from the bottom right, sets a fork down beside the plate, and withdraws. The camera drifts in a few centimetres over the whole shot, no rotation, staying level. The light does not change. Ambient sound of a quiet restaurant room tone, cutlery touching ceramic once. No music, no dialogue.
Written for image to video, 12 seconds, 480p, from a generated portrait still, at 276 credits:
She looks into the lens, takes a small breath and says, "Three weeks ago I would not have believed this either." She pauses, glances briefly down and to the left, then back to the lens and adds, "Now it is the first thing I open every morning." Slight natural handheld sway, framing unchanged. Room tone only, no music, no background voices.
Three things those share. They open with what moves. They state explicitly what does not move, which is the single most effective instruction in this mode. And they end with sound, because audio is generated on every run whether you ask for it or not.
Step 4: Add an optional end frame to transition between two images
Image to video takes a start frame and can also take an optional end frame. When you supply both, the clip begins on the first image and resolves onto the second, and the model generates the journey in between. This is the closest thing the mode has to a superpower, because it turns two stills you already have into a controlled transformation instead of a guess.
It is the right tool for before and after, for closed to open, for empty to full, and for a plain product frame resolving onto a branded end card. What it needs from you is a prompt that describes the path between the two states rather than either state on its own, since both ends are already fixed by the images.
Written for image to video, 8 seconds, 720p, starting on a closed gift box and ending on the same box open with the product visible, at 384 credits:
The lid lifts slowly and evenly, tilting back on the far edge, and tissue paper unfolds outward as it goes. The camera holds a fixed three quarter angle throughout and does not move. Light stays exactly as it is. The reveal completes in the last second and settles. Sound of card sliding on card, tissue paper, and a single soft settle at the end. No music, no voice.
Two rules keep end frame clips clean. Keep the camera still, or nearly still, because the model is already solving a transformation and a moving camera doubles the problem. And keep the two images consistent in framing, lighting and distance. A start frame shot wide and an end frame shot close is not a transition, it is a cut, and you will get something strange in the middle.
Step 5: Set duration and resolution, then render
Pick a duration from 4, 8, 12, 15, 20, 25 or 30 seconds. For a single animated still, shorter is usually better. Four to eight seconds covers most product motion, and long takes from a static frame tend to run out of things to do unless you have written a real sequence.
Run the first version at 480p. At 23 credits per second an 8 second test is 184 credits, against 384 credits at 720p. You can see whether the motion is right, whether anything deformed, and whether the audio suits the shot, all at the lower resolution. Then re-render the keeper at 720p, changing nothing else. Video generation on VIDEO AI ME requires an active subscription, with Starter at $29/mo for 1,400 credits, Pro at $99/mo for 5,600 credits and Premium at $199/mo for 12,000 credits.
Why the aspect ratio follows your input image
In text to video and reference to video you choose from auto, 21:9, 16:9, 4:3, 1:1, 3:4 and 9:16. In image to video the aspect picker does not apply, because the output follows the input image. A 4:5 still produces a 4:5 clip. A 16:9 still produces a 16:9 clip.
Treat that as a planning step rather than a limitation. Crop the still to the placement you are generating for before you attach it: 9:16 for TikTok, Reels and Shorts, 1:1 or 4:5 for feed, 16:9 for YouTube and site embeds. Placement specs from TikTok for Business are worth checking before you crop, not after, because re-cropping a finished clip costs you either resolution or composition.
What source images work best for Seedance 2.5 image to video
Three categories carry most of the real work.
Product photography and pack shots. The strongest use of the mode. Your existing catalogue photography is already lit, already correct, already approved, and already the right colour. Animating it produces motion assets that match your site exactly, which is a claim no text to video prompt can make. There is more on this workflow in the ecommerce product video guide, and general guidance on the underlying photography from Shopify applies unchanged.
Generated stills. Producing an image first, judging it as a still, and only then animating the one you like is often cheaper than iterating on video prompts, because you are separating the two hard problems and only paying video rates for the one that survived.
Brand and campaign frames. End cards, packaging layouts, key art. Anything where the composition is signed off and must not drift.
What works less well: heavy text overlays, screenshots of interfaces, collages, and images that have already been through aggressive upscaling. All of them tend to shimmer once motion starts.
When to use image to video instead of the other modes
Use image to video when the exact look is already decided. Use text to video when nothing exists yet and you want the model to invent the whole frame, which the Seedance 2.5 prompt guide covers in detail. Use reference to video when the ingredients exist as separate photographs and the shot combining them does not.
If you worked this way in the previous version, the Seedance 2.0 image to video guide covers what that model did with a still, and most of the habits transfer. What is new here is the audio arriving in the same pass and the willingness of the model to hold a longer take. For more finished prompts written against real product frames, see the product ad prompt collection. Model level research is published by ByteDance Seed.
Frequently Asked Questions
How do I switch to image to video in Seedance 2.5?
You do not switch, you attach. Adding exactly one image to the prompt puts the generation into image to video mode automatically. Zero images is text to video and two to four images is reference to video, so the attachment count is the only control.
Can Seedance 2.5 transition between two images?
Yes. Image to video takes a start frame and an optional end frame, so the clip begins on the first image and resolves onto the second with the model generating the movement between them. Keep the camera still and keep both frames consistent in framing and lighting for the cleanest result.
Why can I not choose an aspect ratio for image to video?
Because the output follows the input image. The aspect picker applies to text to video and reference to video, where there is no source frame to inherit from. Crop your still to the placement you need before attaching it.
What should the prompt say if the image already shows everything?
It should describe motion, camera and sound, and nothing else. State what moves, state explicitly what stays still, name the camera move if there is one, and write the audio. Re-describing the subject that is already visible only creates contradictions.
Does image to video cost more than text to video?
No. All three Seedance 2.5 modes are 23 credits per second at 480p and 48 credits per second at 720p, with audio included. A 4 second animated pack shot at 720p is 192 credits.
Will my product label stay readable?
Usually, if it is readable in the source at full resolution and the camera move is modest. Fine print is the first thing to soften, so use the highest resolution original you have, keep the product large in frame, and prefer a slow arc or a small push over a fast move across the label.
Frequently Asked Questions
Share
AI Summary
Paul Grisel
Paul Grisel is the founder of VIDEOAI.ME, dedicated to empowering creators and entrepreneurs with innovative AI-powered video solutions.
@grsl_frReady to Create Professional AI Videos?
Join thousands of entrepreneurs and creators who use VIDEO AI ME to produce stunning videos in minutes, not hours.
- Create professional videos in under 5 minutes
- No video skills experience required, No camera needed
- Hyper-realistic actors that look and sound like real people
Get your first video in minutes
Related Articles
How to Run MiniMax H3 Without a GPU
MiniMax H3 has public weights, so people try to self host it. Here is what that actually costs in hardware and time, and the browser route if you just want the clips.
Writing Sound and Dialogue in MiniMax H3 Prompts
Audio is generated with the picture, so it is yours to direct. How to write dialogue, ambience and silence, and how much speech actually fits in a short clip.
MiniMax H3 Prompt Guide: How to Write a Shot
The five part structure that gets usable clips out of MiniMax H3, why keyword lists fail, and how to write the sound as deliberately as the picture.